Make Your Own
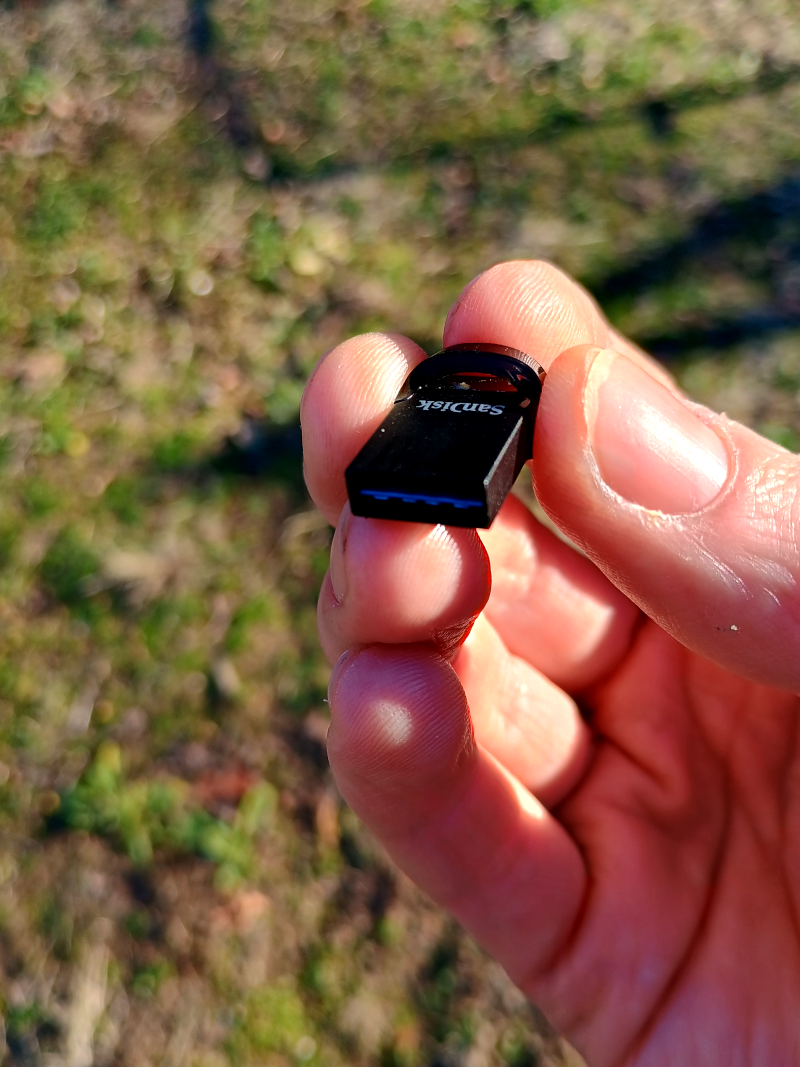
| 1. | Obtain a 64GB (or larger) USB drive. |
| 2. | Download the image file (checksum: sha256). |
| 3. | Write the image file to a USB drive (64GB or larger) using a program like: |
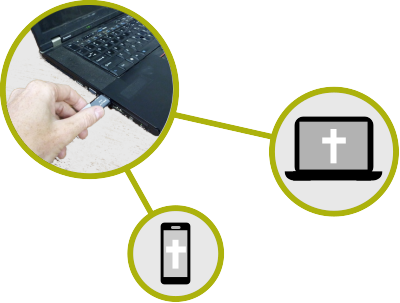
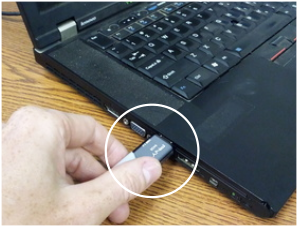
| 4. | Insert the USB drive into a PC. |
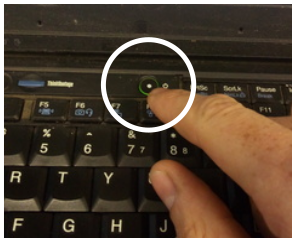
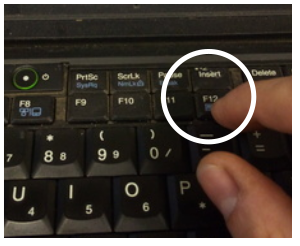
| 5. | Power on the PC and press the boot menu key (multiple times) when the manufacturer logo appears on screen. |
| Acer | F12 |
| Apple | Esc |
| Asus | F8, Esc |
| Dell | F12 |
| HP | Esc |
| Lenovo | F12 |
| Samsung | Esc |
| Sony | F11, F10 |
| Toshiba | F12 |
| 6. | Use the up and down arrow keys to select USB and press return. |
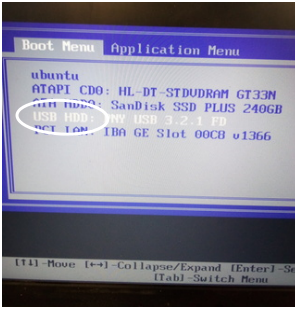
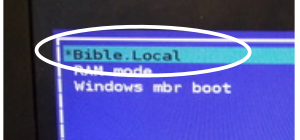
| 7. | Select Bible.Local. |
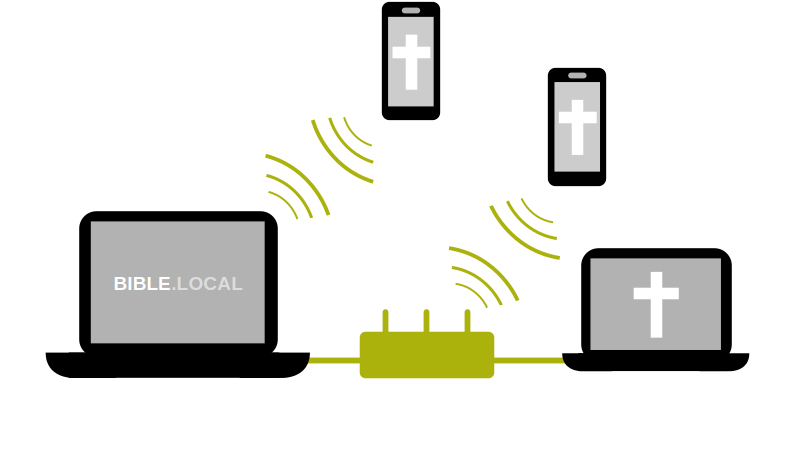
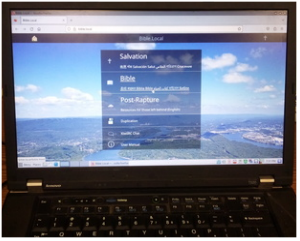
| 8. | When the desktop appears, a web browser will open and display web content from http://bible.local. This content can also be accessed by other devices on the same network. |
| 9. |
If the host computer has a wireless card or a wireless adapter is attached, the bible.local PC system will attempt to create a wireless (WiFi) network.
|
|
Note: mobile devices may need to disable data to access content over WiFi.
Tip: activate Airplane Mode, then enable WiFi. |
|
That's it! Share the WiFi login with others and encourage them to connect and read God's Word at: http://bible.local |
|
| info | See the User Manual for more information. |


